Painting Your Kitchen
It's time to paint your kitchen, but should you do it or hire professional kitchen painters? Cornerstone Painting shares some kitchen painting tips.

Your kitchen is the very heart of your home. It is a place filled with memories of delicious meals that family and friends have enjoyed as they gather together for holidays, parties or other get-togethers. This is also a room for which you need a durable paint that can last despite high heat from the stove and oven.
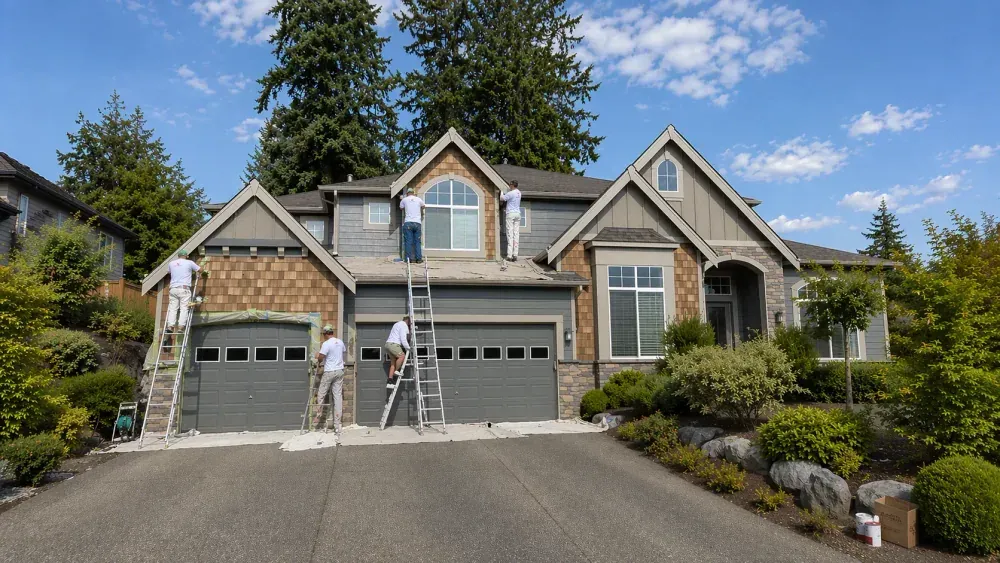
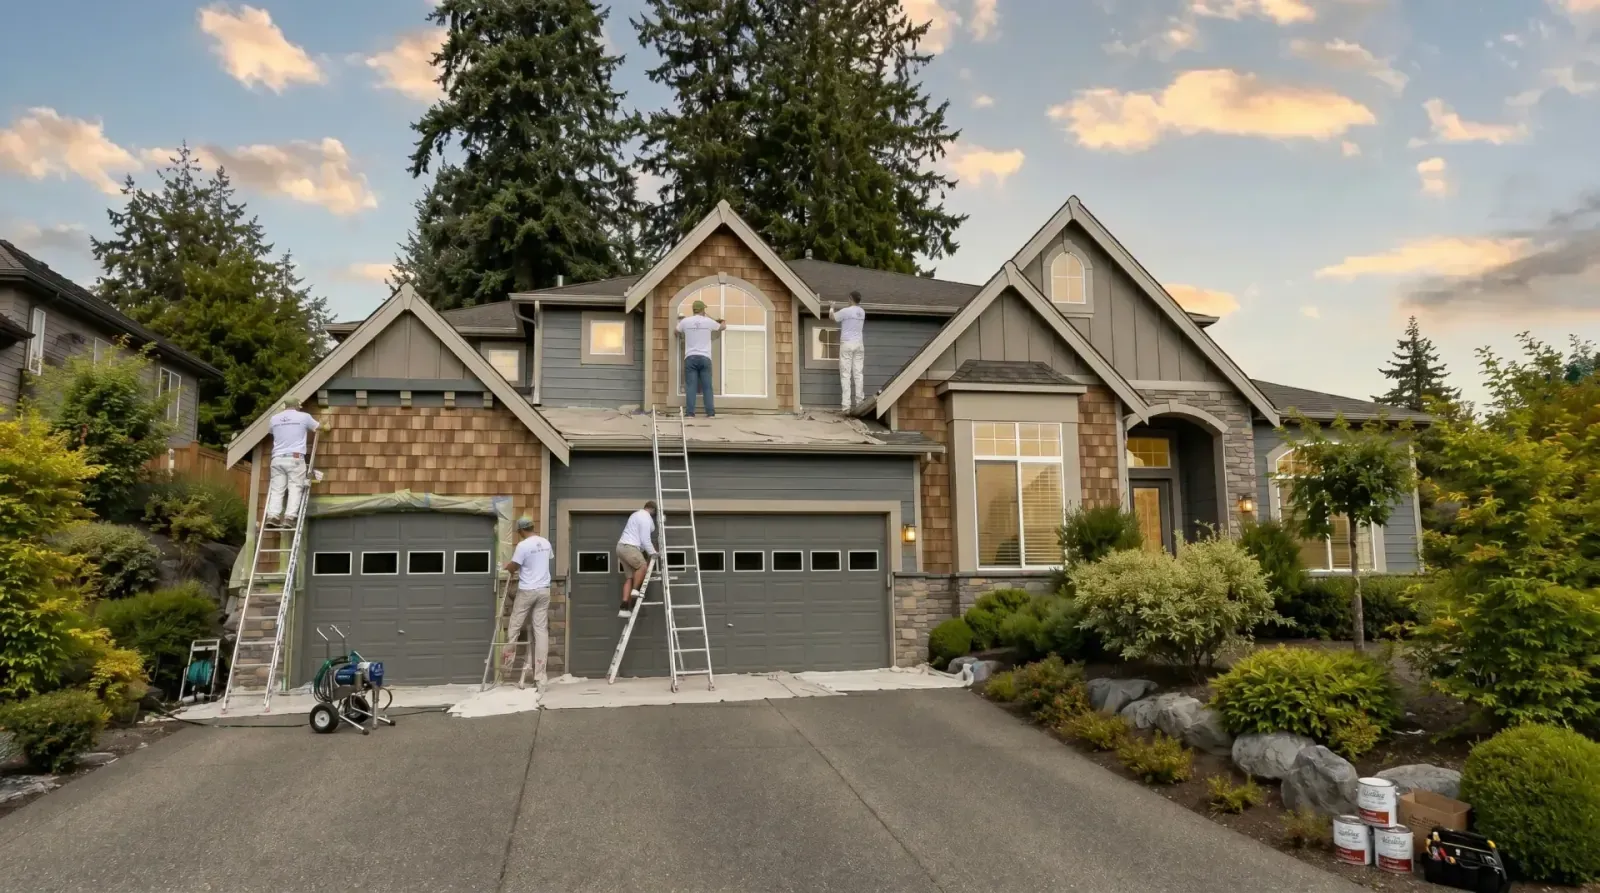
If you are considering refreshing your kitchen with a new color, you might be thinking of a DIY project. You could call professional kitchen painters, but perhaps you want to try the task yourself. Cornerstone Painting has been serving Woodinville WA neighborhoods since 2006, so we compiled a list of things you will need to do and have.
How to Prep Your Kitchen for Paint
**1.**Plan ahead. The typical kitchen is a small room and can be painted as a day project. Gather together clothes that you won’t mind if paint splatters land on them, and order the celebratory pizza to be delivered at the end of the day.
2. Clear the kitchen. Move out any countertop appliances, accessories, food or displays to avoid getting paint on them. If you intend to move the refrigerator, double check for the water connection. Also, if you have gas appliances, engage a professional to disconnect them. Take off all hardware. Remove the electrical outlet covers. Keep all the fasteners and screws together in individual plastic bags. Label the bags.
3. Protect woodwork and floors. Use quality painter’s tape at least 2 inches wide and tape along the top of the baseboards to protect them. In addition, tape off window and door frames and moldings to avoid getting paint splatters on them. Cover your kitchen floors with drop cloths, and lay them out closely to the baseboards. Cloth drop cloths are far better than plastic because cloth will absorb paint splatters and spills. Wet paint on a plastic drop cloth can result in a slip and fall. It will also cause quite a mess. If you use plastic, you can cover it with newspaper to keep the mess down.
**Tip:**When you tape off your framing and baseboards, the cutting in will be much more efficient. We suggest using painter’s tape because standard masking tape will dry too quickly, and you will find it difficult to remove. After applying the painter’s tape to framing and baseboards, pass over it with a smooth edge to remove bubbles and keep it adhered to the surface. This will prevent paint from leaking underneath the tape. You should remove the painter’s tape while the new paint is still wet.
4. Prep the walls and remove old paint. Use a scraper to eliminate any old paint that is flaking. Be sure to use goggles so you don’t get any paint chips in your eyes. Remove dirt and debris from any cracks or holes with a vacuum attachment or a dry paint brush.
5. Fill in holes and cracks. Use a lightweight patching compound to fill in holes and cracks. Spread the compound out around the edges with a putty knife. You should also use the putty knife to create a smooth surface. You may choose to do this part a day early to let the compound dry thoroughly. Use a fine grit sandpaper to create an even smoother surface if you desire. Repeat these steps as necessary to create a perfectly smooth surface. You don’t want any bulging compound to call attention to repairs.
Also, you will need paint primer over the patching compound, so ensure that it is completely dry first.
6. Clean and dry the surfaces. It is especially important to do this step with a kitchen. The walls tend to collect grease and food on them. This will inhibit the paint from adhering to the walls. Going from top to bottom, use a sponge mop or other clean sponge and clean the walls and ceiling completely with TSP and water. Follow the manufacturer’s instructions. Rinse thoroughly and let dry completely.
Tip: TSP is found in any home improvement store. You may find it in the paint department or the cleaning supplies aisle. It is an all-purpose, non-abrasive cleanser that works on most every type of surface. It comes in concentrated formulas, which you will need to dilute per the instructions.
- Clean the trim. Clean window sills and moldings prior to painting. In fact, this is an opportunity to do a thorough cleaning of your entire kitchen. You may even be ambitious enough to clear the cabinets and clean inside a day or two before painting. Dust and vacuum as much of the kitchen as possible. You want to prevent dirt particles from getting into the paint.
What Equipment Will You Need When Kitchen Painting
At minimum you will need the following for kitchen painting:
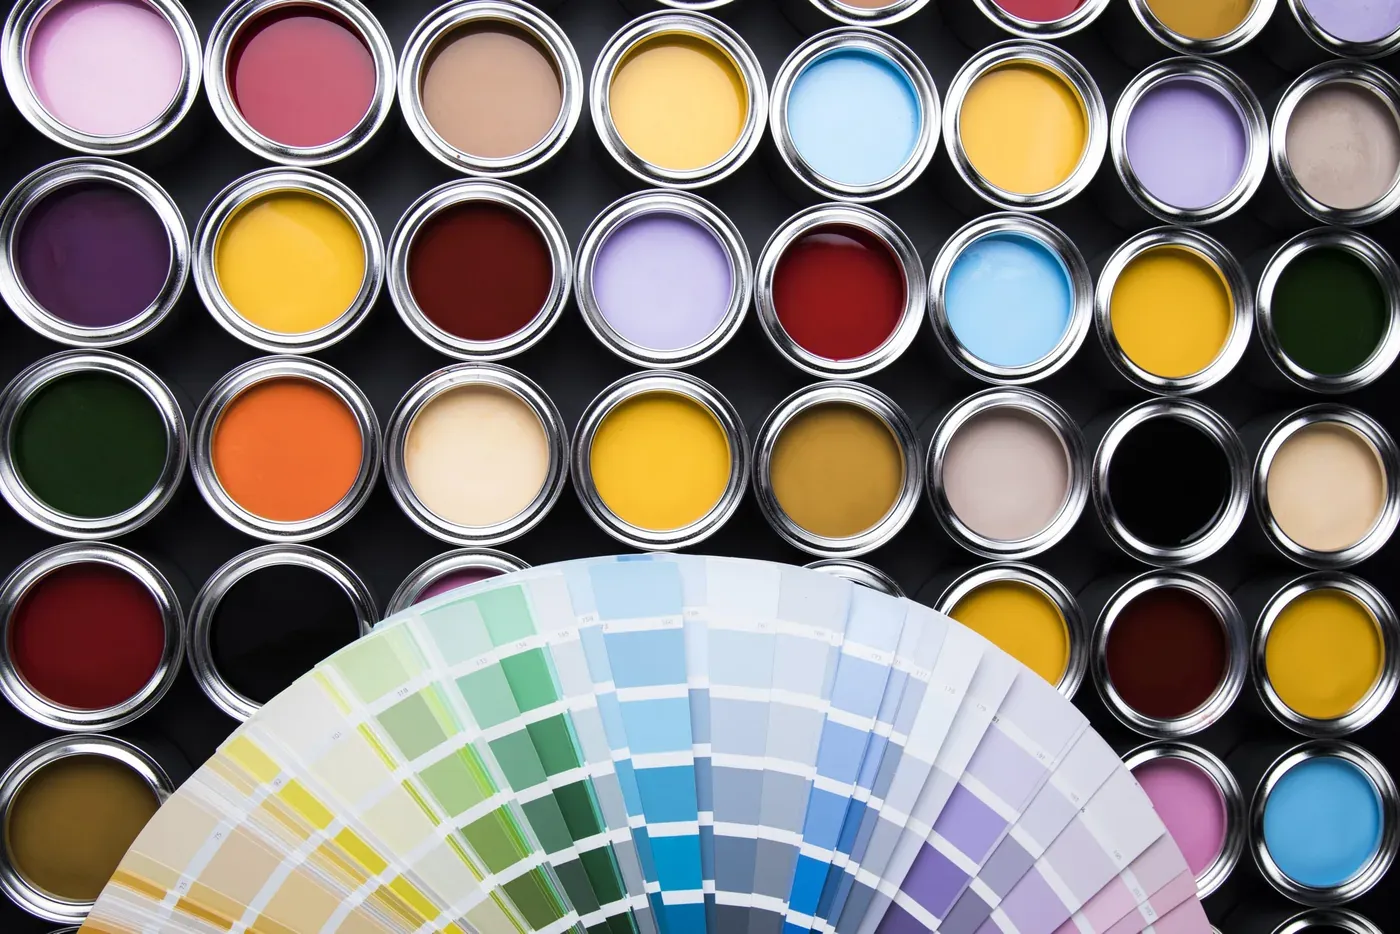
What are the Hottest Colors for Kitchens Now?
Sherwin Williams selects its annual color of the year, and this year the color is Oceanside Blue, a vibrant blue with a hint of jewel-toned green. Other popular colors right now are terracotta, light and dusty pinks, deep blues and greens and natural whites.
When you choose the kitchen paint colors, take into account the mood and ambience you wish to create. Some experts think that red will stimulate your appetite, but choosing this color may make your kitchen look like your favorite restaurant. That may be alright.
Check some decorating magazines for inspiration. If you wish to make a bold statement, you may go with vibrant deep colors. When you pick a palette for your kitchen paint colors, bring home paint chips to see how the colors work with the other elements of your kitchen - cabinets, countertops, flooring and appliances.
How are Satin and Semi-gloss Paint Different?
Sheen determines the difference between satin and semi-gloss paint. Semi-gloss has more sheen that satin, and that means it will be more stain-resistant. Semi-gloss may be easier to wipe down, which means it can be a very useful paint for kitchen painting. A satin paint may be appropriate for a kitchen that needs less reflection of light. However, the quality of the paint is key. A good quality satin paint may be a better choice than a low-quality semi-gloss paint.
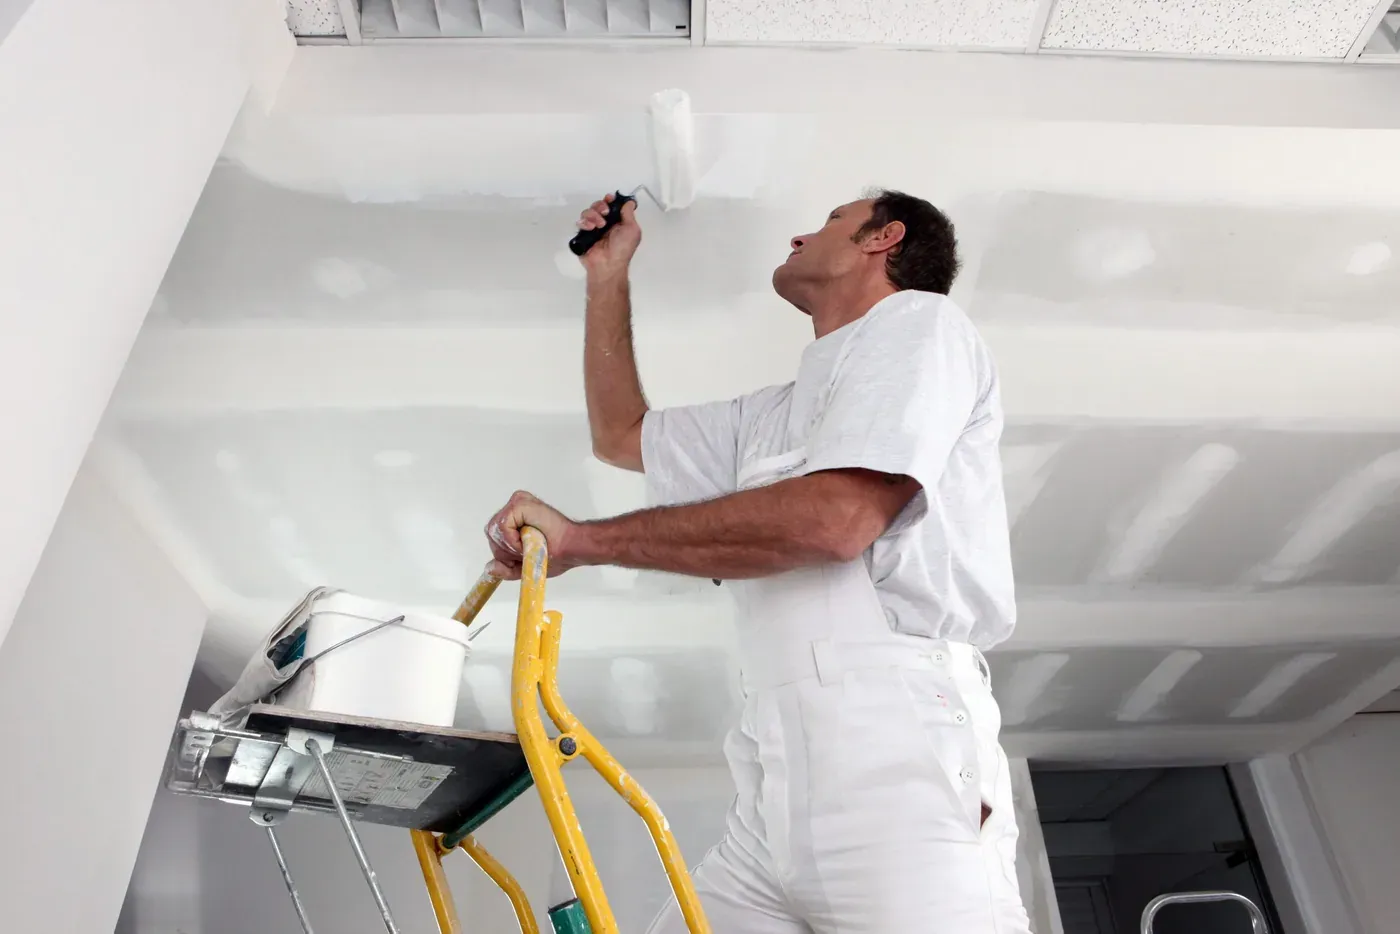
Keep it Easy: Hire a Professional Kitchen Painter
As you can see, painting a kitchen properly takes careful planning and equipment. Why not let a professional do the work? Cornerstone Painting has been in business since 2006 in Woodinville WA. We are professional kitchen painterswho can take kitchen paintingseriously. You want the right ambience with less mess. Call us today for a free quote.
GET STARTED
Ready to start your
project with confidence?
Experience the difference a dedicated, owner-led painting company makes. Schedule your complimentary, no-obligation estimate today.